
How to manage multiple teacher bookings?
TL;DR
- An online school website can easily manage bookings for multiple teachers using the following plugin and addons:
- Simple Calendar (free core plugin)
- Google Calendar Pro (Simple Calendar addon)
- Book an Appointment (Simple Calendar addon)
- A school admin can follow the exact 8 steps defined below to set up on-page Google Calendar booking for multiple teachers:
- Set up a central school calendar
- Create individual calendars for teachers
- Create dedicated landing pages for each teacher
- Install the plugin and required addons
- Authenticate Google Calendar using the plugin
- Create a Book Appointment calendar
- Set availability, working hours, and slot gaps
- Embed the booking calendars on the teacher’s landing pages
How to set up on-page booking for multiple teachers?
If you’re a school, tutoring service, or a personal coaching business, and you’ve experienced that managing multiple teacher schedules on your website is a complex task, fret no more! Even if you’re a marketing personnel working on a school website project, you’re going to thank us later for letting you know the easiest, practical, and guided steps to display multiple teacher bookings on your WordPress site.
We aim to provide students with a consistent, on-page booking system that not only saves time and your marketing budget but also enhances their site experience (as they won’t have to redirect, and everything happens on-site). Now, let’s get straight to the point without any further ado!
In this guide, we’ll talk about creating dedicated pages for each teacher that display their personalized schedules and availability. After reading this straightforward guide, you’ll be able to assign each teacher a unique schedule while offering your students an easy way to book appointments with just a few clicks.
Exact steps to let students book the right teacher (without leaving your site)
We’ve kept this setup simple and functional, just like how the company’s accounts on Google Workspace are processed. Here, your main school calendar will drive the entire setup, in which individual teachers’ calendars are created and easily displayed on the WordPress site using the Simple Calendar plugin and its addons.
The setup is clutter-free and ensures that all teacher schedules are managed centrally, yet remain separate, making it easier for both administrators and students to book lecture appointments directly from the school website.
Step 1: Set up a central school calendar with individual teacher calendars
Set up a main school calendar using the Google Workspace account. Learn more about using the Google Workspace for education here.
It’s akin to how Google Workspace functions for businesses, where each employee (in this case, the teacher) has their own personal calendar, but all can be accessed from one central location.
Please note: Individual teachers need to share access to their calendars with the main school calendar. This ensures that when the website admin authenticates the school calendar, all teacher calendars appear automatically in the calendar selection dropdown.
Alternatively, calendars for individual teachers can also be created under the main school calendar as defined in the next step below.
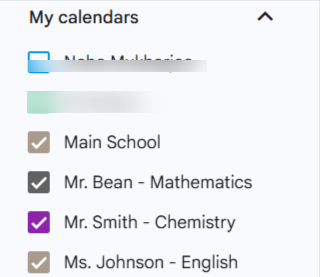
Step 2: Create individual Google Calendars for each teacher (inside the school account)
In this step, you need to create separate Google Calendars for each teacher under the main school account. So, you can name the calendar after your teacher’s name.
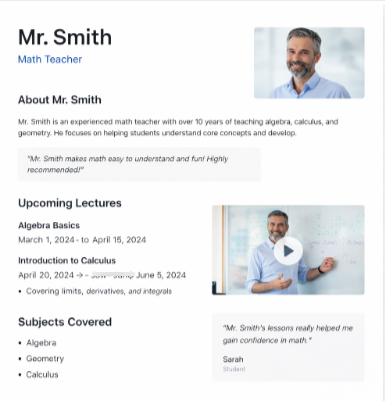
Step 3: Create dedicated landing pages for each teacher
As you’ve done with the Google Calendar account tasks, go to your WordPress site and create individual landing pages for each teacher. We recommend creating an informative landing page that includes details about the lectures given by this particular teacher, as well as the subject matters being covered. And, you can also mention the dates on which a lecture started and the dates on which they’re about to end.
So, you have to mention everything in the landing page itself strategically and creatively.
These pages can also include teacher bios, images, videos, testimonials, teaching style, or the expertise of each teacher. Ensure you add minimal yet useful details here for the students.
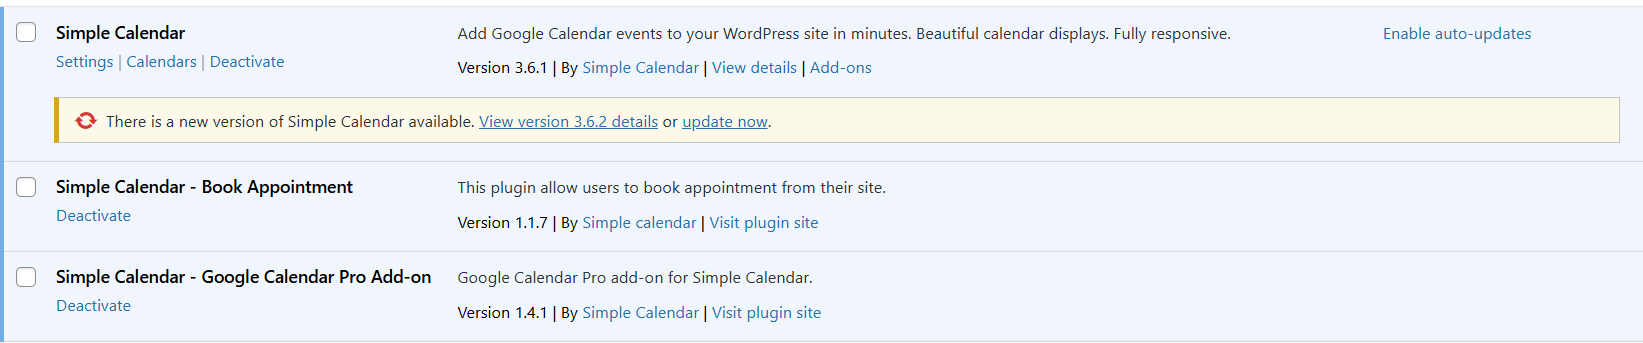
Step 4: Install the Simple Calendar plugin and required addons
Now, you will need to install and activate the free Simple Calendar plugin and premium addons, namely the Google Calendar Pro and Book an Appointment. And, if you plan to use multiple premium features, bundle plans are worth taking a look at here as they’re more cost-effective than buying addons individually.
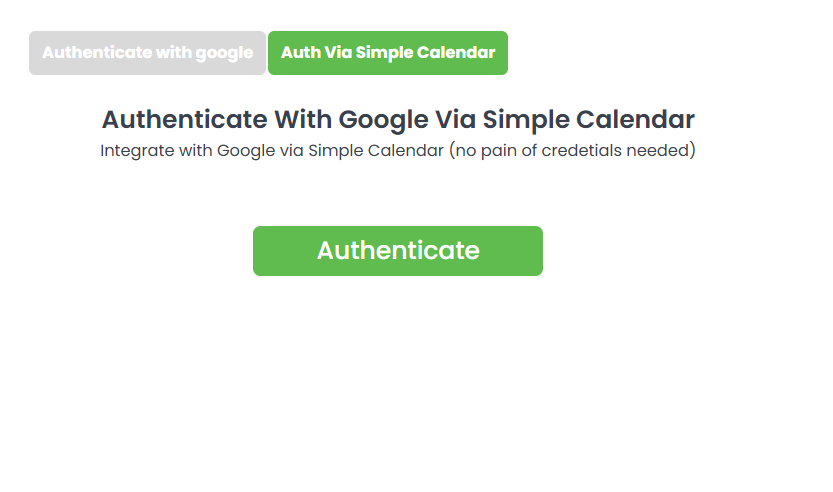
Step 5: Authenticate Google Calendar
After you’ve activated the addons, Google Calendar Pro, and Book an Appointment, the next step requires Google authentication. So, go to Calendars > Settings, and select between the two options, i.e., Authenticate with Google and Auth via Simple Calendar.
If you choose to authenticate with Google, refer to the doc here explaining how to properly configure the OAuth client manually. And, if you choose Auth via Simple Calendar, which is comparatively a time-saving decision, refer to the doc here. Or, you can simply click on Authenticate, and the next 2-3 steps are easy to follow along.
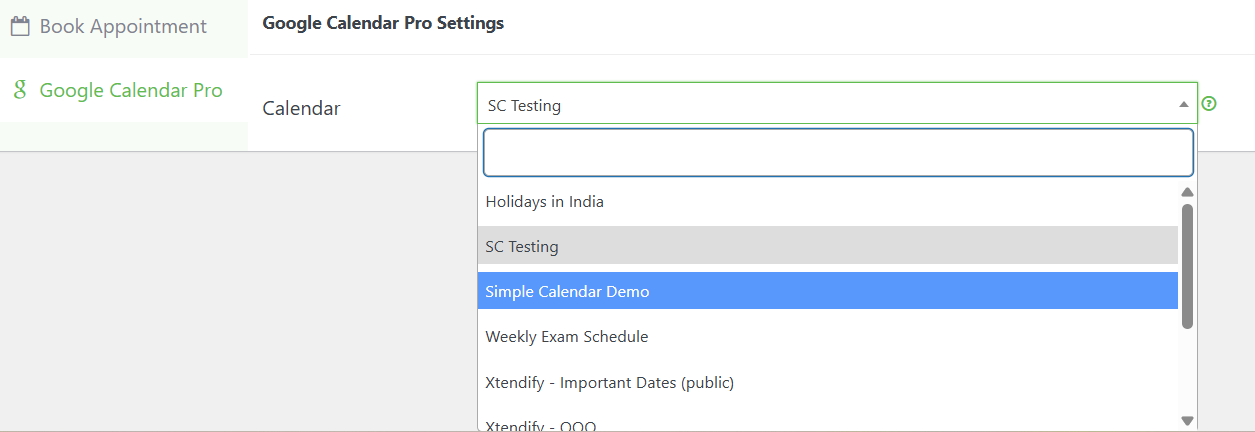
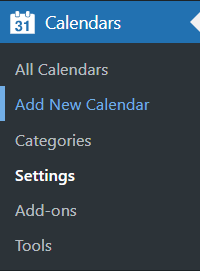
Step 6: Create a Book Appointment calendar
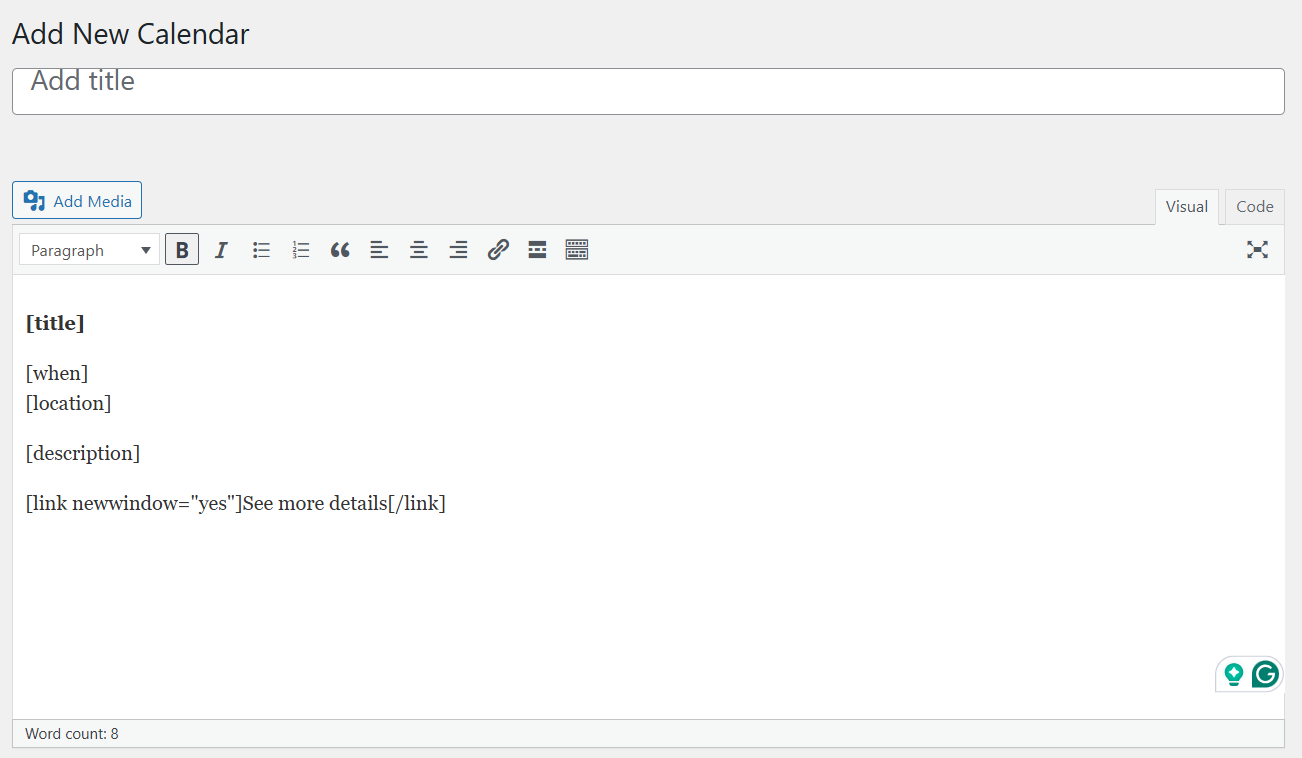
The booking calendar creation begins now. Go to Calendars > Add New Calendar.
Give your calendar a title and leave the rest as is, or you can use various other event template tags as described here in the documentation.
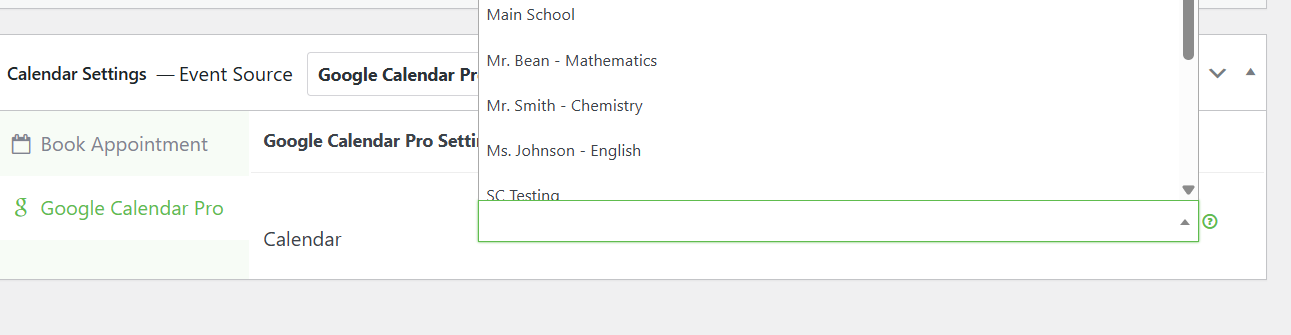
Then, scroll below and select Google Calendar Pro as the Event Source. Select the Calendar dropdown and select the calendar of the teacher you want to show.

Step 7: Set availability, working hours, and slot gaps
After you’re done configuring your Google Calendar Pro settings and authentication, the next steps demand you to select Book Appointment as the Calendar Type.
As you select the above, a screen appears in front of you where you can set daily working hours, slot gap, enter event title, and add event location. Thus, you have almost four customizations for your booking calendar. Explore these settings and create a functional, two-way-sync booking calendar as per your needs.

Step 8: Embed the booking calendar on the teacher’s landing page
The last step comes in. Here, you can embed the created calendars on teachers’ landing pages above or below the content. Embedding calendars is easy with our calendar shortcode that you can get from either All Calendars or while you’re creating a specific calendar.

Final Words
So, setting up multiple teacher bookings with Google Calendar doesn’t have to be complicated. We’ve explained each step above to guide you exactly through the creation process. Everything also stays crystal clear with the central school calendar and dedicated teacher pages. However, it’s also up to your creative thinking regarding optimizing the landing pages and utilizing the plugin features to the fullest. We believe the creation of separate teacher pages also helps students know more about their mentor without surfing a single calendar interface to find their favorite teacher.
Useful FAQs, answered!
How do I create a multiple-teacher calendar booking system?
Although Google Calendar has launched an Appointment Scheduling feature, it has certain limitations regarding the number of booking pages one can display on the website, etc. Thus, Simple Calendar has come up with an easy and practical solution to display multiple teacher bookings on your online school calendar. Read the exact steps above in this blog to know more about this easy process.
Can I use Google Calendar as a booking system on my school website?
Yes, it’s possible and feasible to use your favorite Google Calendar for appointment booking on your site. You’re simply required to activate the free plugin Simple Calendar, and use premium addons, Google Calendar Pro, and Book an Appointment. The addons help you build a two-way synchronized booking calendar for your school site. In this blog, we covered a clear example of how teacher booking works using embedded calendars on individual teacher pages.
How should an online school manage bookings for multiple teachers?
The easiest, most helpful, and practical way for an online school to manage bookings for multiple teachers is to create dedicated calendars for each teacher on the site. The entire setup of this use case is clearly explained in the eight steps above. There’s no need for coding or any analytical thinking; you’re only required to optimize your teacher pages to put your best foot forward.
Summarize with:
Related posts
Simple plugin. Pro features. Easy from day one.

Simple Calendar for Sports Facilities: Solve Scheduling Problems Without Expensive Software If you’re an athletic director, facility manager, or school sports coordinator, you already know that Google Calendar isn’t designed for complex operations. It works fine for personal reminders, but it disappoints when you’re handling sports scheduling across multiple teams, coaches, and venues. A true […]

How to sync private Google Calendar in WordPress (No public access required) Embedding Google Calendar in WordPress may seem simple until you take all the necessary steps. Many site owners ask the same questions after trying manual Google Calendar embeds: Why does the calendar appear broken on mobile? Why do I have to make it […]

Learn how to add customized Google Calendars to your WordPress in 5 minutes. Easy and flexible setup.